Friday, December 7, 2012

CraftLee - Fab Fabric iPad Cover

Hello there!

After the success of my Fabric Kindle Cover I was delighted when my friend Gina asked me to make her an iPad cover from some funky fabric. Gina popped around on Tuesday and we had some lovely coffee and scones before we had a good look through my fabric stash to decide on which fabbie fabrics to choose.
I made the cover up this morning and am really delighted with the results! (I hope Gina likes it too!)

Have a look.....

We picked this lovely combo of darkest brown & beautiful cream & green fabric with a lovely stylised flower motif
Theres a pocket to keep your iPad safe when your on the move.
Theres a velco tab to keep the cover closed.


& a coordinating strip down the other edge to help keep the cover clean.
And when your iPad is in its cover you can still access the charging socket ... brilliant!
I wish I had time to make a tutorial but Im just too busy getting ready for Christmas. I WILL have to make one of these beauties for myself soon and I'll be sure and turn it into a tutorial to share :)

& for those of you who are following me on Facebook you'll know that I am working on a lovely bag for a special little lady for Christmas. Here's the progress thus far.....


I'm just waiting on some bag making parts to come from the UK before I can finish this job.
I think its going to be really cute when its done!

Thanks for visiting, hope you have a lovely weekend & do come back soon !

Love
Siubhan x x x

Tuesday, December 4, 2012

Le Chat Noir Christmas Fair 2012

Ohhhh! What a lovely day I had on Sunday !
I took a stand at Le Chat Noir Christmas Fair in the Flying Enterprize Complex in Cork city and had a super day meeting lots and lots of lovely sellers & buyers!

I am really busy today with lots of custom orders for Christmas
but I just HAD to share with you some pictures of the day....

I sold out of these little beauties ! No wonder ! They ARE pretty cute!
Plenty of lovely bags on my stall including this little beauty made from lovely Irish wool fabric - may have to save this one for myself ! Shhhh!!!

Just for fun I made some baby bibs to add a bit of vintage flavour to my stall

I sold lots of cute crochet bits !

Obviously HAD to test the cupcakes from Freckles Cupcakes on my break ! How yummy does this lovely cake look ? ALMOST too good to eat (but not quite!)

The organisers arranged a fab fashion show to show off some of the vintage fashions on sale

Here's some of the other sellers wares - LOVE these !

I want! I want! I want!

These paper and button flowers were super cute!
Lovely Christmas ideas...

Vintage bits & bobs 

Cute cushions in funky fabrics!

A lovely frame & coffee table from www.Quaydesigns.ie

Vintage Wedding dresses from Miss Daisy Blue! Love her sign too!

Many of the wares were handmade, great news for craft !

I collected a few caeds from other stalls but NOT ENOUGH!!!

I treated myself to a vintage hair-doo too !! I loved it ! Wish I knew how to do it myself !
Thanks for visiting & do come back soon !

Love
Siubhan x x x

Tuesday, November 27, 2012

Free Tutorial - County Christmas Cushion

Hi folks !
Its beginning to feel a lot like ......
Christmas decoration making time !!! yayy!
Well I'm been super busy with my lovely crochet snowflakes over the past week
(think I may even be able to crochet them in my sleep at this stage!)
and I love them soooo much thought I might just come up with an idea or two
to use them in other festive ways.
I've also been scheming of ways to use the ribbon I received from the lovely people
at Abakhan through the tutorial exchange at Totally Tutorials.

So here's a little tutorial I put together this morning for a


Country Style Mini Pillow Christmas Decoration With Ribbons & Crochet
(he! he! now that's a mouthful !) Its a super easy and fun little project - took me about half an hour


Here's what your going to need -

Some yarn & a crochet hook
Hessian or Burlap 2 pieces - mine were 7in x 9in
Some scraps of Christmas Ribbon
Wadding or stuffing (I used some leftover stuffing from my scatter cushion)
Sewing needle & thread

Lets get started !

2 pieces of hessian (burlap) , mine were 7in wide x  9in high but you can use any size you fancy.

Lay your Christmas ribbon down across one piece in a random pattern, pin it all down when your happy :)
Pin about 4 inches of ribbon in the centre of the top of your burlap (this will be your hanger)
Lay your pieces right sides together and whip out the machine & stitch all round the cushion leaving a 3 inch gap at the bottom for turning out and stuffing.
I like to double stitch (go over it twice) as the weave is so open on the material)
Trim the excess & trim your corners
Now carefully remove all your pins & turn right side out , carefully push out the corners.

Time for some Christmas Stuffing ( he he ! Couldn't resist! )

When your cushion is stuffed , hand sew the opening closed with coordinating thread.
Ahhh! Now we're getting somewhere !
 Next up the mini crochet snowflake...
'Whaaa!!' I hear you cry 'I can't crochet!!!'
Well that's why I'm here ! Its easy!!

Grab a crochet hook & some yarn you only need three stitches to make a snowflake -
Chain (C)
Slip Stitch (SS)
& heres where things get a little hairy! one more simple stitch called
Double Crochet (DC) (UK) or Single Crochet (SC) (USA)

You can learn how to make these 3 stitches HERE, HERE and HERE
Got it ? Great then lets make a mini snowflake! ...

Chain 4 
Join your chain with a slip stitch (ss) to form a loop.
Working into the loop chain 2, 1 Double crochet (US- Single), Chain 3 
2 Double Crochet in the loop (as above) then chain 3 - do this 3 more times 
 then SS into the 2nd chain of your initial ch 2. now you've formed a cute little 5 pointed star shape.
Slip stitch into the closest loop (formed by your chain 3 in the previous round) & do the following-
DC, Chain 3, DC, Chain 5, DC, Chain 3, DC
Now move onto the next loop and do it all again !
DC, Chain 3, DC, Chain 5, DC, Chain 3, DC
Continue in each of the 5 loops ...
SS into the base of your first DC and hey presto ! Your done !!

You can at this point block your crochet snowflake if you like. The difference between blocking & not blocking is demonstrated in the photo of a larger snowflake below - the snowflake on the right has been blocked.

& this is how you do it - pin your snowflake open on a folded towel (I use some foam behind my towel to save the table). Spray with water or a spray starch & then leave to dry. Its a simple as that !


Sew that critter on to the front of your mini cushion & wayyy hey!!
Your done ! Now all you've to do is decide where to hang your creation !
It will look great hanging on a door handle or on a hook and what a lovely Christmas gift it would make !


Thank you for visiting & do come back soon !

Love Siubhan x x x


Monday, November 26, 2012

Snowflake Central !

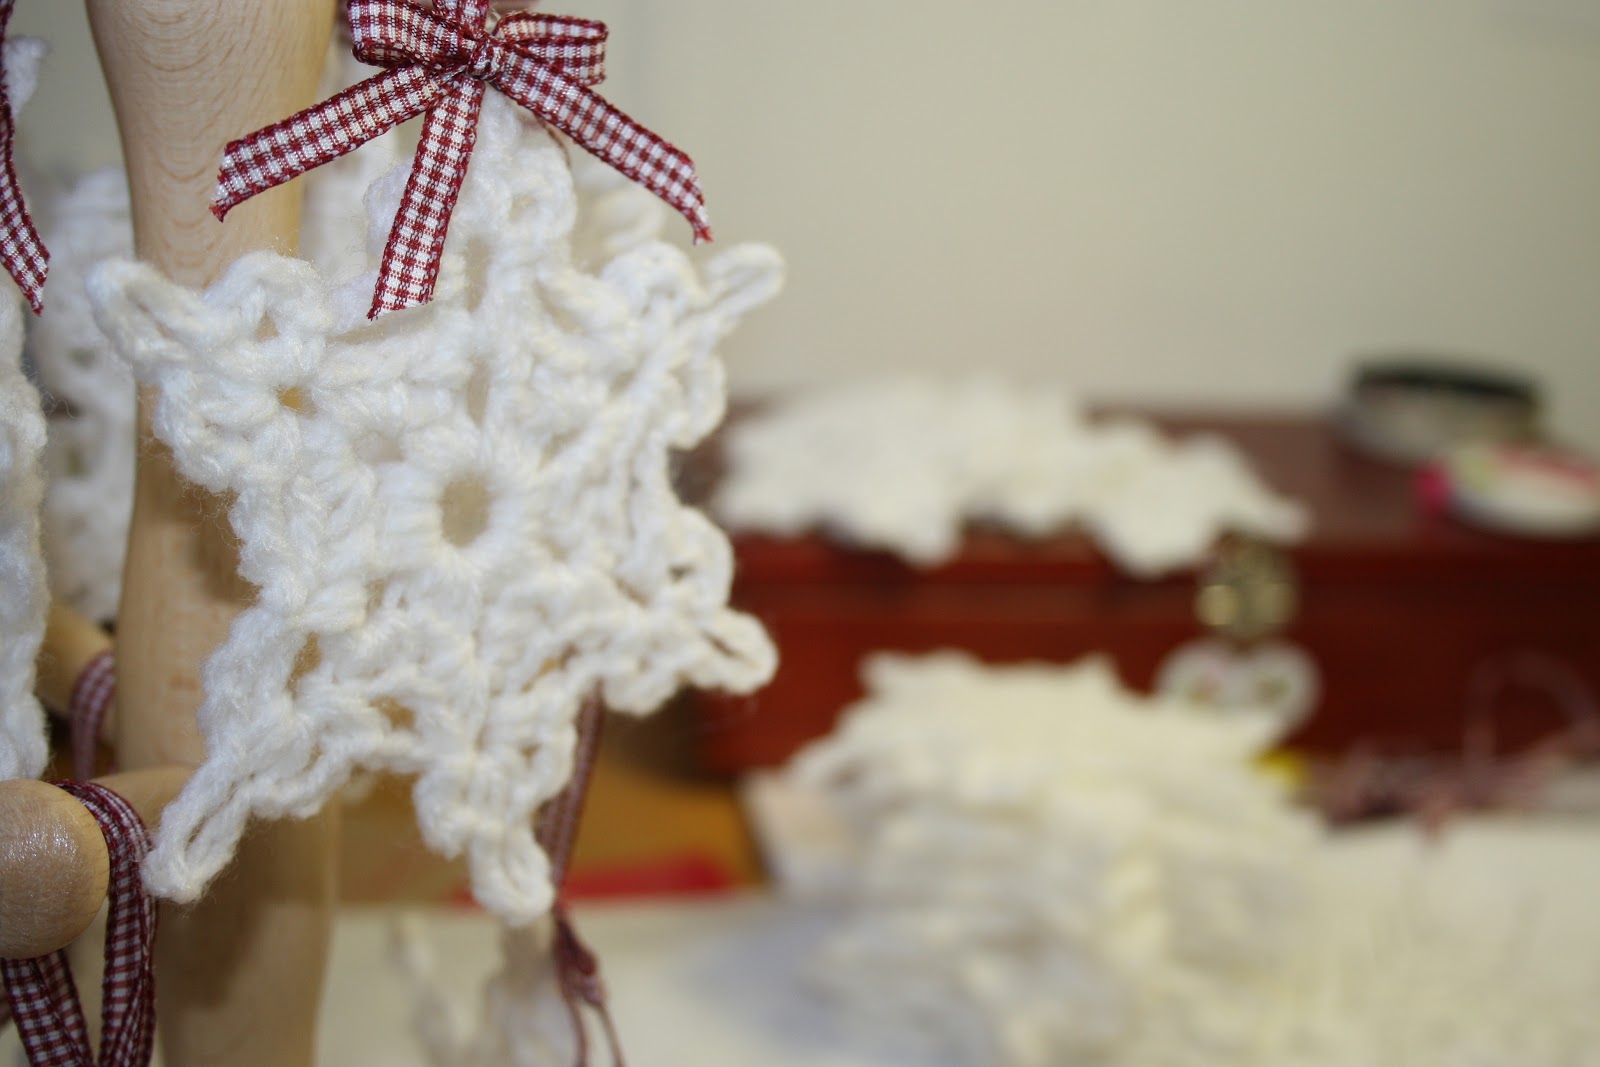
The CraftLee house has turned into 'Snowflake Central' in preparation for the upcoming Christmas Craft Fairs. I've been busy crocheting away these little lovlies......


Busily blocking and starching .....


So that if we don't get any REAL snow this year at least we'll have some snowy crochet goodness to put us in the mood for some mulled wine & cosy nights by the fire!


Hope your having a lovely week ...


And do pop by again soon !

*Update*
If you would like to find out how to make a simple crochet snowflake have a look at my post here
& I'm delighted that this post was featured by the lovely and talented Sarah at Alderberry Hill


love Siubhan x x x

Monday, November 12, 2012

Scrappy Scatter Cushion

I LOVE Cushions !!
and I HATE waste!
So I am just super thrilled with this little scatter cushion
I made today from some leftover bag-making scraps !


Look at the floor of my sewing space below !
It is covered in half cut-out bags - I've been cutting away all weekend.
As I was cutting out the bags the scraps were piling  up and I thought they looked pretty good together.


The scraps were long triangles and I figured there was SOMETHING I could do with them.
So I sewed them all together,
added a few strips of yummy ribbon and taaa daa!!!!
(yes ANOTHER picture !)


I backed the cushion cover in some lovely velvet remnants I had to hand
and made it a super easy envelope style cover.
The cushion is not a 'regular' size. Its 17in x 11in ,
so I de-constructed an existing cushion pad and sewed up an inner cushion to suit from lining material.

.
This was a great little project - I am ridiculously thrilled with the results (can you tell!)
I will do a tutorial soon ... I promise!
First though I'd better turn my attention back to those bags; they won't sew themselves! !!

Thank you for visiting & please do call again!

Love
Siubhan x x x


Related Posts Plugin for WordPress, Blogger...